In this step-by-step guide, you will learn how to apply DIY eyelash extensions like a pro. With a little practice and the right tools, you can have long, voluminous lashes that will make heads turn. So, let’s get started!
Understanding DIY Eyelash Extensions To Choose Rightly
The quest for enhancing one’s appearance has led to a surge in beauty trends and techniques. Among these, the phenomenon of eyelash extensions has garnered significant attention. While professional lash extension services have been popular for some time, the emergence of DIY eyelash extensions offers a new level of convenience and personalization. To embark on this journey with confidence, it is essential to grasp the fundamentals of DIY eyelash extensions, ensuring the right choices are made throughout the process.
Unveiling DIY Eyelash Extensions Characteristics
Trends come and go in the dynamic world of beauty and cosmetics, but some innovations carve a lasting niche for themselves. One such phenomenon that has taken the beauty industry by storm is the art of eyelash extensions. While professional salons have long been the go-to for luscious lashes, the rise of DIY eyelash extensions has empowered individuals to take their beauty into their own hands. To truly appreciate and excel in this practice, unveiling the characteristics that define DIY eyelash extensions is essential.
- Personalization and Customization: One of the most striking features of DIY eyelash extensions is the ability to tailor the experience to individual preferences. Every person’s eyes are unique, and DIY extensions allow for a personalized touch. From selecting the ideal length and curl pattern to choosing the most suitable material, individuals can curate a look that perfectly complements their facial features and style. Moreover, cat eye eyelash extensions offer a creative and enchanting way to enhance your eyes‘ natural beauty. With carefully chosen extensions and precise placement, you can achieve a sultry, captivating gaze that exudes confidence and allure. Whether you’re aiming for a special occasion or simply want to embrace your inner feline, cat eye eyelash extensions are a stylish and captivating choice that adds a touch of drama and glamour to your look.
- Material Variety: DIY eyelash extensions offer a diverse range of materials, each with its own set of characteristics. Synthetic extensions are known for their durability and affordability, making them an excellent choice for beginners. Silk extensions provide a natural shine and a lightweight feel, mimicking real lashes. For those seeking unparalleled softness, mink extensions offer a luxurious option. This material variety enables users to make conscious choices based on their preferences and ethical considerations.
- Exploration and Creativity: Embarking on a DIY eyelash extension journey is an opportunity for creative exploration. The process involves intricate placement and blending techniques, enabling individuals to experiment with different looks. Whether desiring a dramatic and glamorous finish or a subtler, more natural enhancement, DIY extensions provide a canvas for creativity.
- Learning and Mastery: Applying DIY eyelash extensions is not just an act of beautification; it’s a skill that can be honed over time. From the initial stages of learning to isolate natural lashes properly to mastering the art of adhesive application, the process demands attention to detail and a commitment to improvement. This learning journey fosters a sense of accomplishment and empowerment as individuals see their skills evolve.
In the realm of beauty innovations, DIY eyelash extensions stand out as a practice that empowers individuals to define their own standards of beauty. The characteristics of personalization, material variety, creativity, and skill development converge to create a holistic experience. Embracing the world of DIY eyelash extensions goes beyond enhancing physical appearance; it’s a journey that unveils personal strengths, creative expression, and a newfound sense of confidence.
How To Choose The Right DIY Eyelash Extensions
While professional salons have long been the destination for this enhancement, the world of DIY eyelash extensions has opened up new possibilities. However, navigating this realm requires careful consideration and understanding to choose the right extensions for a personalized and stunning outcome. This essay delves into the key factors that guide the selection process of DIY eyelash extensions.
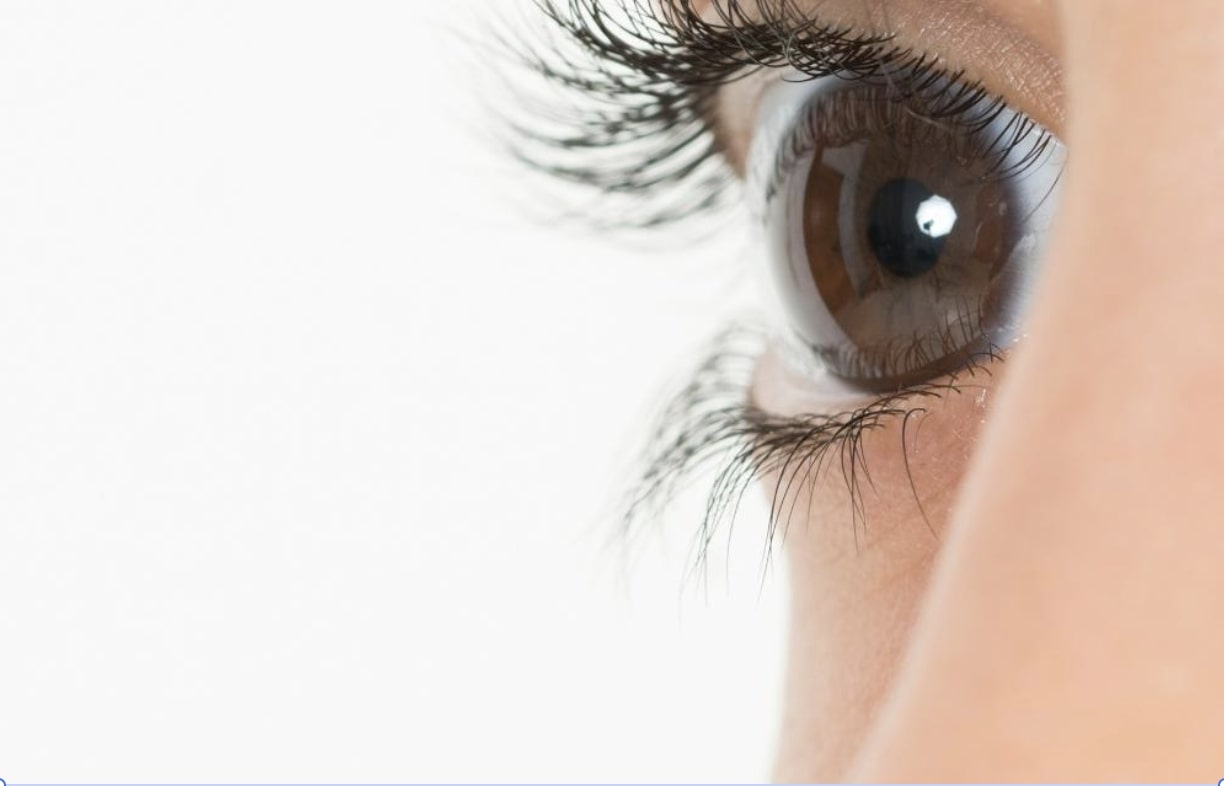
- Understand Your Natural Lashes: Before diving into the world of DIY eyelash extensions, it’s crucial to comprehend your natural lashes. Consider their length, thickness, and curl pattern. This understanding will guide your choice of extensions that seamlessly blend with your existing lashes, creating a natural and harmonious look.
- Material Matters: DIY eyelash extensions are available in various materials, each with distinct characteristics. Synthetic extensions are durable and cost-effective, making them suitable for beginners. Silk extensions offer a natural shine and lightweight feel. Mink extensions provide unparalleled softness and a luxurious appearance. Understanding the attributes of each material empowers you to make an informed decision that aligns with your desired look and ethical preferences. Besides, whether you opt for classic lash extensions or embrace the textured drama of hybrid extensions, both styles – hybrid vs classic lash extensions have distinct benefits that cater to various preferences. The beauty of eyelash extensions lies in their ability to enhance your unique features while aligning with your personal style. As you explore, the benefits of each style include hybrid vs classic lash extensions. Consider your aesthetic goals and lifestyle to choose the lash extensions that will help you confidently showcase your individual allure.
- Length and Curl: The length and curl of your extensions significantly impact your overall appearance. Longer extensions create a dramatic effect, while shorter ones offer a more subtle enhancement. Similarly, the curl type, ranging from natural to dramatic, defines the style you wish to achieve. Consider your eye shape and personal style when selecting the ideal combination of length and curl to accentuate your features.
- Eye Shape Consideration: Every individual has a unique eye shape that can be complemented by the right eyelash extensions. For example, almond-shaped eyes could benefit from extensions that emphasize the outer corners, while round eyes might benefit from extensions that add volume to the center. Tailoring your extensions to your eye shape enhances the overall effect and captures attention.
- Adhesive Quality: The adhesive used to attach extensions is a critical factor in the longevity and comfort of your DIY lashes. Opt for a high-quality adhesive that provides a secure bond without causing discomfort or irritation. Research adhesive options, and choose one that aligns with your skin sensitivity and desired durability.
The journey of choosing the right DIY eyelash extensions is an exciting exploration of personal style, aesthetics, and skill. Understanding your natural lashes, considering materials, length, curl, and eye shape, and prioritizing quality adhesive are essential steps in making a well-informed choice. With careful consideration and a willingness to learn and experiment, you can embark on a DIY eyelash extension journey that empowers you to enhance your natural beauty with confidence and creativity.
How To Apply DIY Eyelash Extensions Gently
In the realm of beauty enhancement, the allure of eyelash extensions is undeniable. They effortlessly transform our gaze, imparting an air of elegance and allure. While the concept of DIY eyelash extensions may seem daunting, it offers a unique opportunity to create stunning results with a gentle touch.
Step 1: Preparation Is The Foundation Of Gentleness To Apply DIY Eyelash Extensions
In the world of beauty enhancement, few practices rival the transformative power of eyelash extensions. These delicate fibers hold the potential to elevate our gaze, adding a touch of elegance and allure. While DIY eyelash extensions might appear intricate, the journey to a successful application hinges on the very first step: preparation. This essay delves into the significance of preparation as the foundation of gentleness when applying DIY eyelash extensions.
- Creating an Optimal Environment: Preparation is more than just a perfunctory task; it’s the process of creating an optimal environment for the delicate task ahead. Select a serene and well-lit space where you can work without distractions. A comfortable setting contributes to a calm and focused mindset, fostering gentleness in your approach. More than, considering the wispy hybrid lash extensions style offers a captivating aura that combines elegance and drama in perfect harmony. Whether you’re drawn to its textured allure or its versatile adaptability, the benefits of this style are clear. With the wispy hybrid lash extensions style look, you’re not just enhancing your lashes; you’re crafting an enchanting gaze that exudes confidence and magnetism, allowing your eyes to tell their own story.
- Gathering Essential Tools: Before embarking on the journey of applying DIY eyelash extensions, gather all the essential tools you’ll need. These include eyelash extensions of your choice, a quality adhesive, precision tweezers, a magnifying mirror, and a soft towel for any unforeseen spills. Having everything within arm’s reach prevents hurried movements and promotes a gentle, unhurried application process.
- Calibrating Mind and Hands: Preparation is not just about setting up physical elements; it’s about calibrating your mind and hands for the task ahead. Take a few moments to clear your mind and focus on the process at hand. Mentally align yourself with the delicate nature of the task, reminding yourself of the importance of gentleness in achieving the desired outcome.
- Reviewing the Steps Ahead: As you prepare, mentally review the steps involved in applying DIY eyelash extensions. Visualize the isolation of individual lashes, the precise application of adhesive, and the delicate placement of each extension. This mental walkthrough enhances your preparedness and reinforces the need for a gentle touch throughout the process.
In the grand tapestry of applying DIY eyelash extensions, the first thread woven is preparation. It sets the tone for the entire journey, guiding your hands and mind toward a gentle and meticulous approach. The act of preparation is not just practicality; it’s a philosophy that underscores the importance of respecting your natural beauty and the process of enhancement. By laying a solid foundation of preparation, you embark on a path where each subsequent step is imbued with the same gentleness, ultimately leading to the breathtaking beauty that DIY eyelash extensions can bring.
Step 2: Cleanse And Prime For Nurturing Your Canvas To Apply DIY Eyelash Extensions
In the intricate world of DIY eyelash extensions, every step is a brushstroke on the canvas of your eyes. Following the foundation of preparation, the second step—cleansing and priming—holds immense significance. Just as a painter prepares their canvas, your natural lashes require a clean and well-prepped base for the delicate artistry that follows. This essay delves into the crucial step of cleansing and priming as the nurturing process for your canvas when applying DIY eyelash extensions.
- Preparing a Fresh Canvas: Cleansing your natural lashes before applying DIY eyelash extensions is akin to preparing a fresh canvas for a masterpiece. This step is pivotal as it removes any traces of makeup, oils, or debris that could hinder the bonding of extensions. Start by gently wiping your eyelids and lash line with a mild, oil-free makeup remover or a specialized lash cleanser. This gentle action sets the stage for a seamless and secure application.
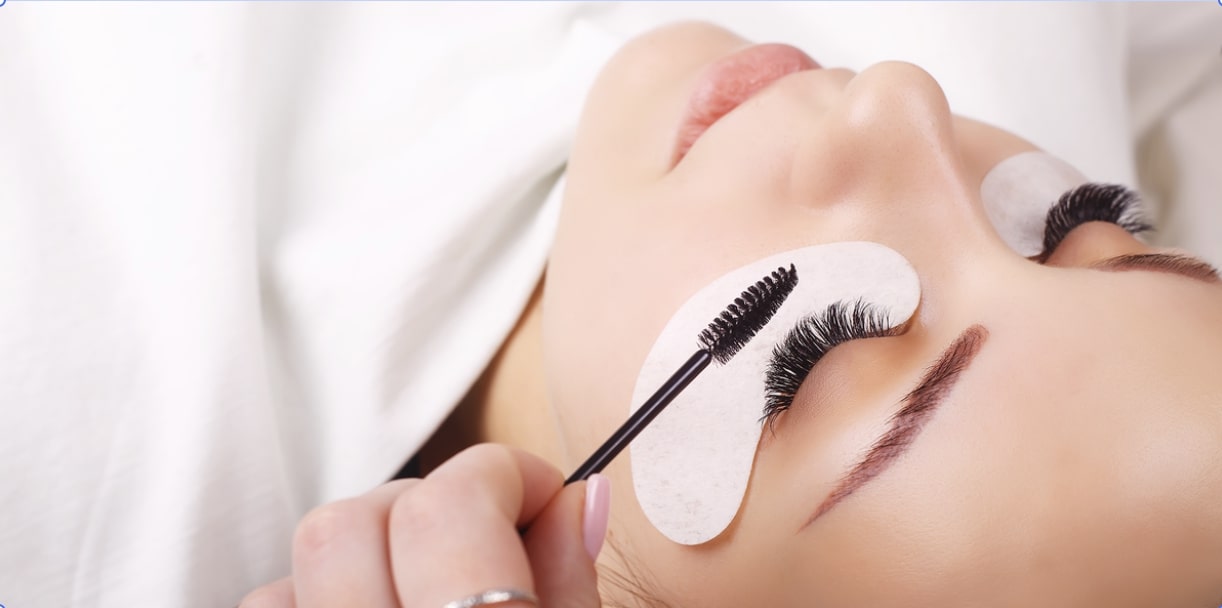
- Promoting Adhesion and Longevity: Just as a painter applies a primer to ensure paint adheres well, priming your natural lashes before attaching extensions is essential for adhesion and longevity. Lash primers are designed to cleanse and strengthen your lashes, creating an ideal surface for the adhesive to bond with. Applying a lash primer with a disposable microbrush ensures a gentle and precise application, reinforcing the canvas for the artful strokes of eyelash extensions.
- Nurturing Your Natural Lashes: Cleansing and priming your lashes isn’t solely about setting the stage for extensions; it’s also an act of nurturing. Just as a gardener tends to their plants, you’re tending to the delicate hairs that frame your eyes. By removing makeup and debris, you’re allowing your natural lashes to breathe and flourish. Applying a primer enhances the bonding process and provides nourishment, creating a healthier foundation for both natural lashes and extensions.
- Enhancing Comfort and Safety: Cleansing and priming aren’t merely about aesthetics; they also contribute to comfort and safety. Removing makeup and oils reduces the risk of irritation and allergic reactions. Additionally, a clean base ensures that the extensions adhere securely, minimizing the chance of discomfort or extensions detaching prematurely.
In the grand choreography of applying DIY eyelash extensions, the cleansing and priming step sets the stage for the ensuing performance. It’s the moment when your natural lashes become the canvas for an exquisite masterpiece. This step ensures a seamless and secure application and underscores the importance of nurturing your natural beauty. Just as an artist respects their canvas, you’re honoring your eyes with the attention they deserve. By gently cleansing and priming, you lay the foundation for a transformation that celebrates both artistry and self-care.
Step 3: Applying Adhesive Before Applying DIY Eyelash Extensions
In the delicate dance of enhancing your eyes through DIY eyelash extensions, each step contributes to the final symphony of beauty. After preparing your canvas with cleansing and priming, the next crucial step is applying adhesive. Like a composer selecting the perfect notes, the application of adhesive requires precision and finesse. This essay explores the significance of applying adhesive as the bridge that connects your natural lashes to the exquisite world of DIY eyelash extensions.
- Understanding the Role of Adhesive: Adhesive serves as the silent hero of DIY eyelash extensions, facilitating a secure bond between your natural lashes and the extensions. A well-chosen adhesive ensures that extensions remain in place, maintaining their allure and longevity. It’s essential to select an adhesive that is formulated specifically for eyelash extensions, ensuring safety and comfort.
- Applying Adhesive: A Delicate Process: The process of applying adhesive requires a gentle hand and a measured approach. Begin by dispensing a small drop of adhesive onto a disposable surface. A little adhesive goes a long way; avoid using excess adhesive, as it can result in clumping and discomfort. With a fine-tipped applicator or micro brush, carefully pick up a small amount of adhesive.
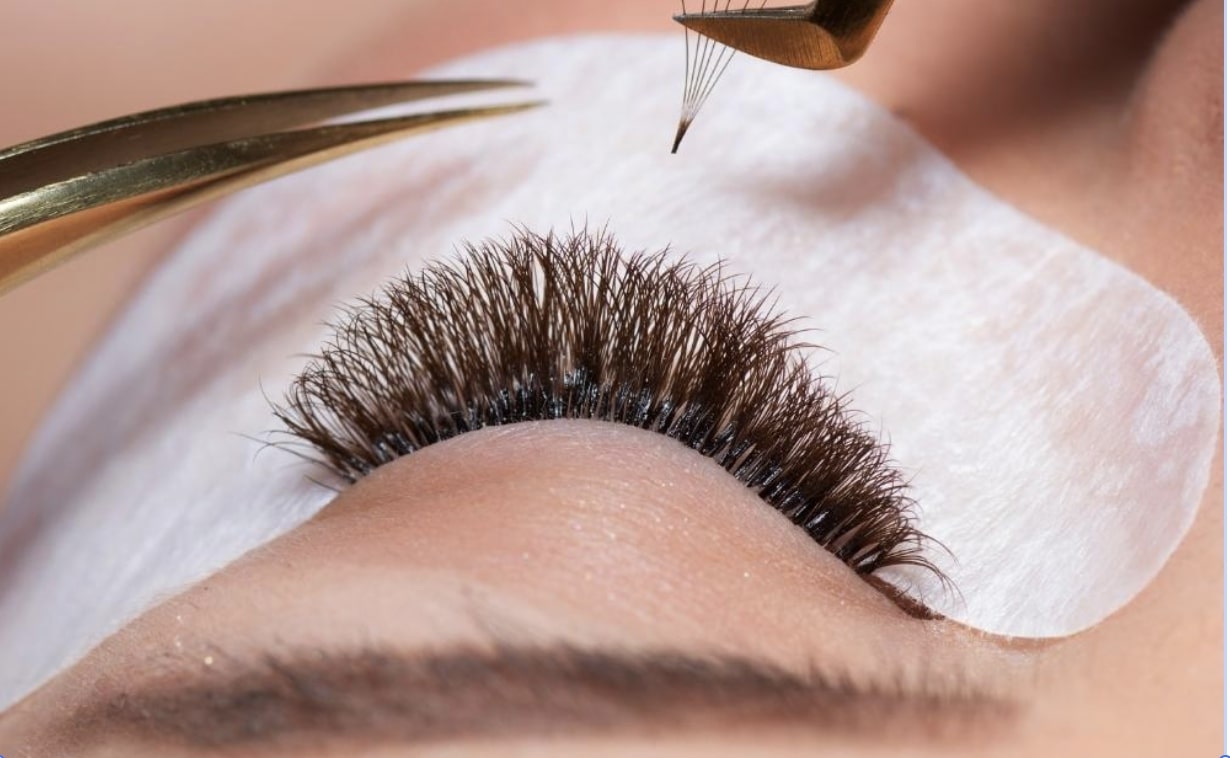
- Isolating Individual Lashes: Gently isolate an individual natural lash using precision tweezers. The key is to grasp the lash close to the root, avoiding any contact with the skin. This isolation ensures that the extension is attached to a single lash, preventing tangling and promoting a natural appearance.
- Applying Adhesive to the Extension: Dip the base of the extension into the adhesive, ensuring that only a minimal amount is applied. Hold the extension vertically for a moment, allowing any excess adhesive to drip off. This meticulous application guarantees a lightweight and comfortable feel, preventing the extension from weighing down your natural lash.
Applying adhesive is the bridge that connects your natural lashes to the realm of DIY eyelash extensions. It’s a gesture of delicacy and precision, a union that celebrates both artistry and technique. With a gentle touch and an eye for detail, you create a connection that enhances your natural beauty. As you carefully apply adhesive, remember that each extension isn’t just an addition; it’s a testament to your mastery of this craft, and the beginning of a captivating transformation.
Step 4: Finishing Touches Of Applying DIY Eyelash Extensions
As the canvas of your eyes evolves with each meticulously applied DIY eyelash extension, you approach the final steps of this intricate process. Having prepared your canvas, applied adhesive with precision, and fostered a sense of gentleness, you now embark on the finishing touches that will bring your enhanced gaze to life. This essay explores the significance of these finishing touches as the culmination of your journey in applying DIY eyelash extensions.
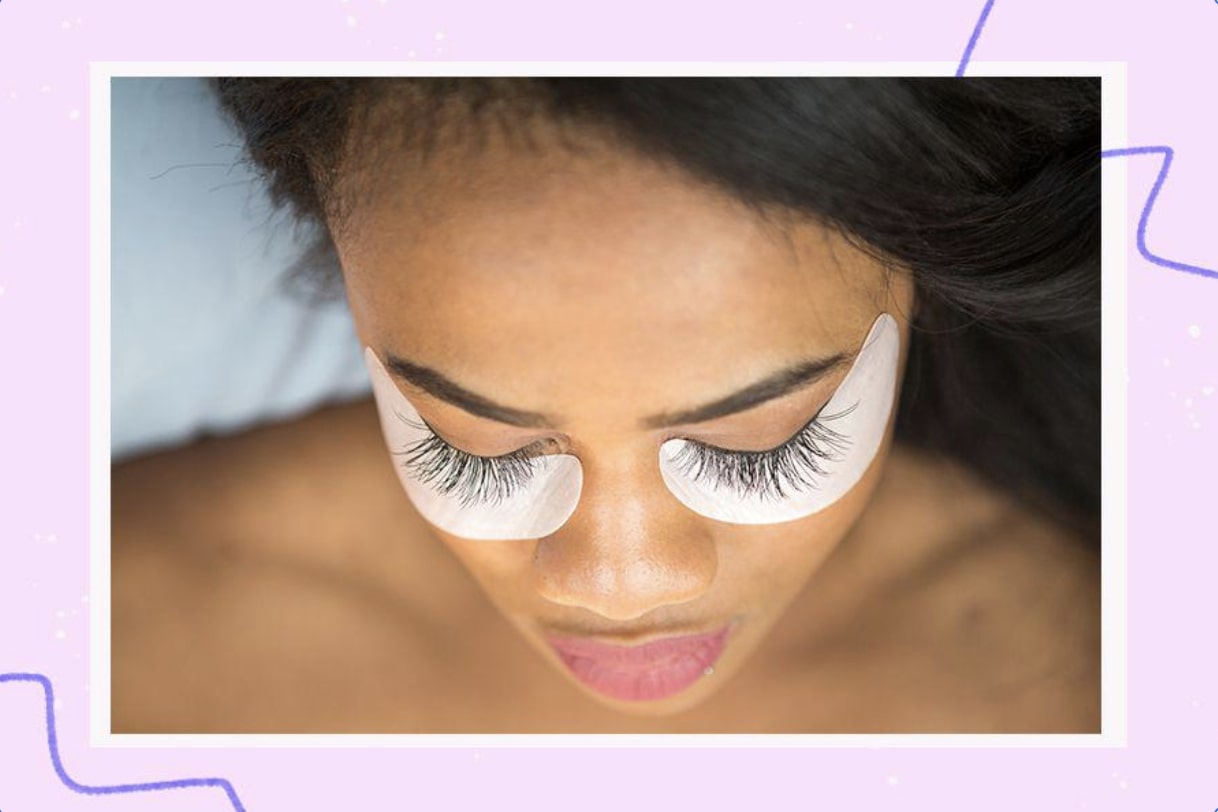
- Creating Symmetry and Balance: The artistry of applying DIY eyelash extensions goes beyond mere enhancement; it’s about creating symmetry and balance that accentuates your natural features. As you near the final stages, carefully observe the placement of extensions. Ensure that each extension is consistent in length, curl, and distance from the eyelid, creating a harmonious and natural appearance.
- Layering for Dimension: Consider layering extensions of different lengths and curls to achieve a captivating and multidimensional effect. Start with shorter extensions near the inner corner of your eye and gradually increase the length toward the outer corners. This layering technique adds depth and dimension, framing your eyes with a mesmerizing allure.
- Checking for Comfort: As you place each extension, attune to your comfort. Extensions that are positioned too close to the eyelid can cause irritation, while those that are too far may feel unnatural. Strive for a balance that ensures a visually stunning outcome and a comfortable and enjoyable experience.
- Adjustments and Refinements: The finishing touches provide an opportunity for adjustments and refinements. As you step back and assess your overall appearance, feel free to make any necessary changes. Gently reposition extensions that might be slightly off, ensuring that each one aligns seamlessly with your natural lashes.
The finishing touches of applying DIY eyelash extensions mark the culmination of a journey that merges art and technique. With every extension carefully placed, you’ve woven a tapestry of enhanced beauty that celebrates your individuality. As you admire the final result, remember that this isn’t just a mere enhancement; it’s a masterpiece you’ve crafted with patience, precision, and a gentle touch. With the finishing touches complete, your eyes radiate a newfound allure that captures attention and reflects the beauty within.
Maintaining Your DIY Eyelash Extensions For Long-Lasting Results
After the meticulous process of applying DIY eyelash extensions, you step into the phase of maintenance—an , which ensures your enhanced gaze remains captivating and enduring. Just as an artist cares about their masterpiece, maintaining your DIY eyelash extensions is essential to preserve their allure and longevity.
- Gentle Cleansing: Maintaining your DIY eyelash extensions begins with gentle cleansing. Use a specialized lash cleanser or a mild oil-free makeup remover to cleanse your eyelids and lash line. Avoid oil-based products that could weaken the adhesive. Gently cleanse by lightly patting the area, ensuring you don’t tug or rub on the extensions. Additionally, lash extensions removal is a beneficial and thoughtful step in your beauty journey. By considering the health of your natural lashes, embracing change, and ensuring a fresh start, you’re making a conscious choice to care for your eyes‘ well-being. Whether you’re transitioning to a different look or simply giving your lashes a break, proper lash extensions removal offers a range of advantages that contribute to maintaining the beauty and health of your eyes.
- Pat Drying: After cleansing, avoid rubbing your eyes or lashes. Instead, gently pat them dry with a soft, clean towel. This prevents unnecessary stress on the extensions and maintains their proper alignment.
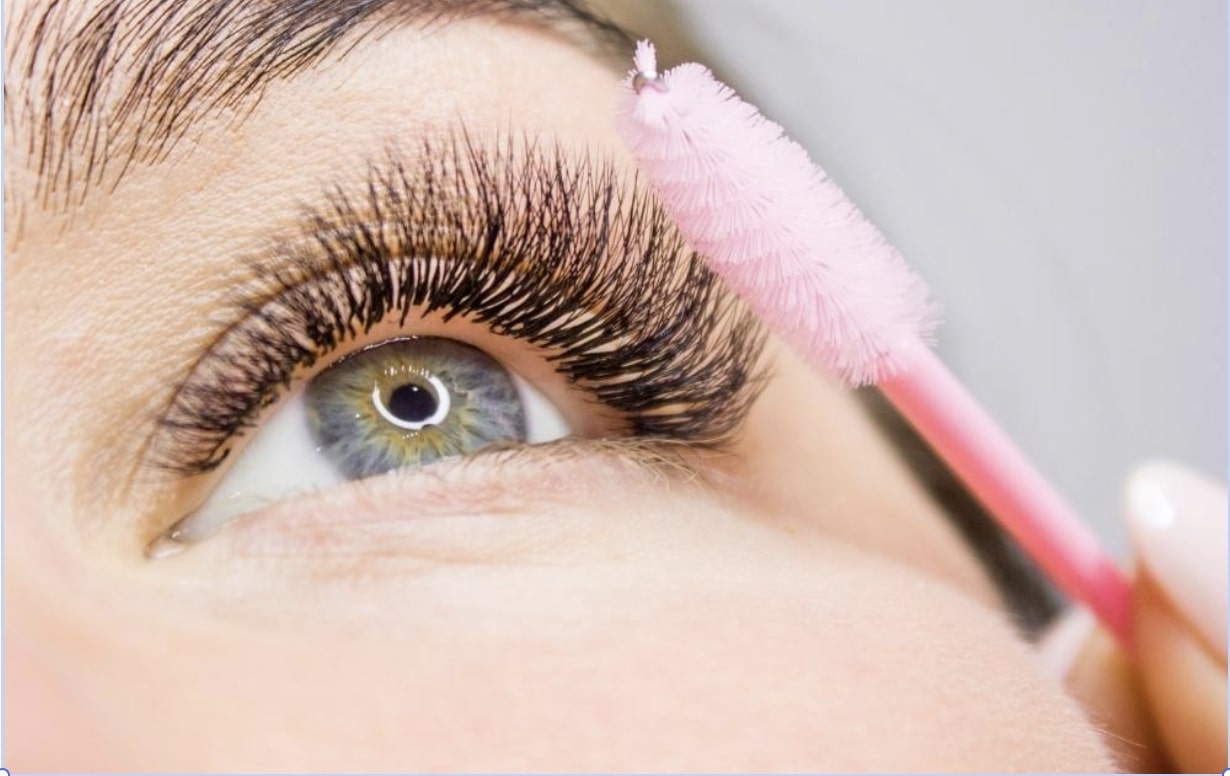
- Comb Daily: Incorporate a daily routine of gently combing through your eyelash extensions with a soft spoolie brush. This prevents tangling and keeps your lashes looking neat. Start at the base and gently comb through to the tips, being mindful not to pull or tug on the extensions.
- Avoid Oil-Based Products: Oil is the enemy of eyelash extension adhesive. Avoid oil-based makeup products, cleansers, and moisturizers near your eyes. These can weaken the adhesive bond and lead to premature shedding of the extensions.
- Be Cautious with Makeup: If you choose to wear makeup, opt for products that are labeled as safe for eyelash extensions. Avoid waterproof mascara, as its removal can be harsh on both extensions and natural lashes. When applying eyeshadow and eyeliner, use gentle motions and avoid excessive tugging.
- Sleep Position: Be mindful of your sleep position to avoid unnecessary friction on your extensions. Sleeping on your back or using a silk or satin pillowcase can help prevent extensions from rubbing against your pillow.

Maintaining your DIY eyelash extensions is a labor of love that nurtures the beauty you’ve enhanced. Adhering to these practices ensures that your extensions remain as captivating and enduring as the day you applied them. Just as an artist cherishes their creation, caring for your extensions prolongs their lifespan and preserves their exquisite allure. With each gentle touch and mindful action, you contribute to a journey of enduring beauty that frames your eyes with a touch of elegance and allure.
Conclusion
With this step-by-step guide, you now have all the knowledge and tools to apply DIY eyelash extensions like a pro. Remember to take your time, practice, and be patient with yourself. Once you master the technique, you’ll be able to achieve the glamorous lashes you’ve always dreamed of, without breaking the bank. So go ahead, give it a try, and get ready to bat those beautiful lashes!
Napsat komentář